How to Verify Your IQ Option Account Without Getting Rejected
Why Account Verification Matters More Than You Think
If you’ve ever used IQ Option for more than a few demo trades, you’ll eventually hit a wall: the verification process. And if you’re anything like me when I started, you’ll probably think: “How hard can it be?”
That was my mindset too until I got a rejection email. Then another. Then silence.
I’d deposited $150, made some decent trades, and decided to withdraw. But without verification, IQ Option won’t process withdrawals. No ID, no cash. That’s when things got messy.
This article isn’t just a tutorial; it’s a story of what went wrong, what I fixed, and how I finally got my account verified without getting rejected again.
If you haven’t signed up yet, you can create your IQ Option account here and follow along to verify it the right way from day one.
The Mistake That Delayed My Verification
When I first opened my account, IQ Option didn’t ask for anything. Just email, password, and boom, I was inside, trading on demo.
Even after switching to a real account and depositing money, I still hadn’t undergone a KYC check. That made me assume it wasn’t necessary until later.
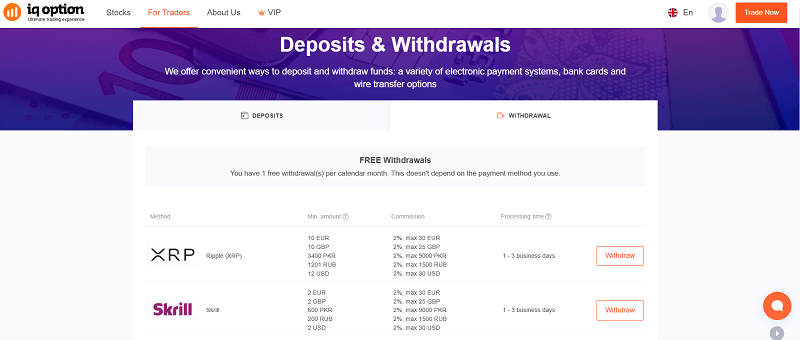
Then I hit “Withdraw.”
A pop-up asked me to upload documents: ID, address proof, and payment method proof. No problem, I thought. I uploaded a phone bill and a photo of my national ID card taken with my phone.
That’s when the waiting started.
After 36 hours, I received an email stating: Rejected – Image unclear. Resubmit.
No detailed explanation. Just rejection.
I re-uploaded a scanned copy, but it was another rejection. I was stuck with money in my account, but I had no access to it. Panic mode kicked in.
I contacted support. They were polite but firm: “Please ensure your documents are high quality, readable, and meet the platform’s requirements.”
I contacted support. They were polite but firm: “Please ensure your documents are high quality, readable, and meet the platform’s requirements.”
That’s when I decided to do a proper deep dive into what IQ Option wants, rather than just guessing.
Understanding the IQ Option Verification Process
The IQ Option verification process consists of three parts, each of which must be completed in order.
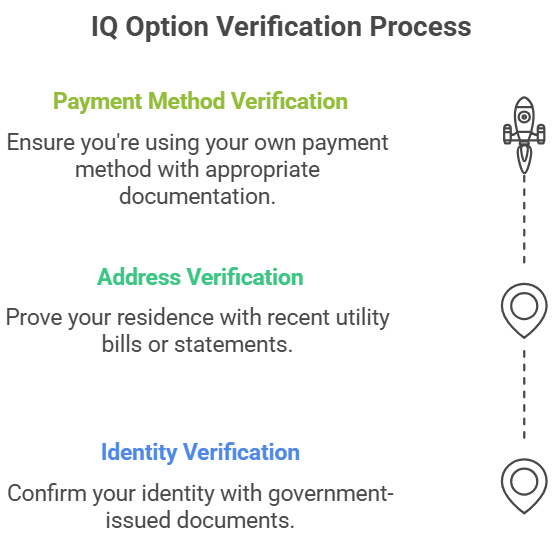
1. Identity Verification
They need to confirm you are who you say you are. Accepted documents include:
- Passport (preferred)
- National ID card (both sides)
- Driver’s licence
The document must be:
- Government-issued
- Valid and not expired
- Clear, readable, and not cropped
- Matching the name you registered with
2. Address Verification
You need to prove your address. Acceptable documents include:
- Utility bills (electricity, water, gas, etc.)
- Bank statements
- Government-issued letters
- Rental agreements (in some cases)
The document must:
- Be dated within the last 3–6 months
- Show your full name and address
- Match the name on your ID
- Be a scanned original (not screenshots from apps unless accepted)
3. Payment Method Verification
IQ Option wants to ensure you’re using your payment method. What they need depends on what you used:
- Credit/Debit Card: A photo of the card, showing the first six and last four digits (rest hidden)
- E-wallets (Skrill, Neteller): Screenshot of your account with your name and email visible
- Crypto Wallets: Screenshot or TXID from your wallet that matches your IQ Option email
How I Finally Got Verified (Step-by-Step)
After messing it up twice, I took the process seriously. Here’s how I did it correctly the third time:
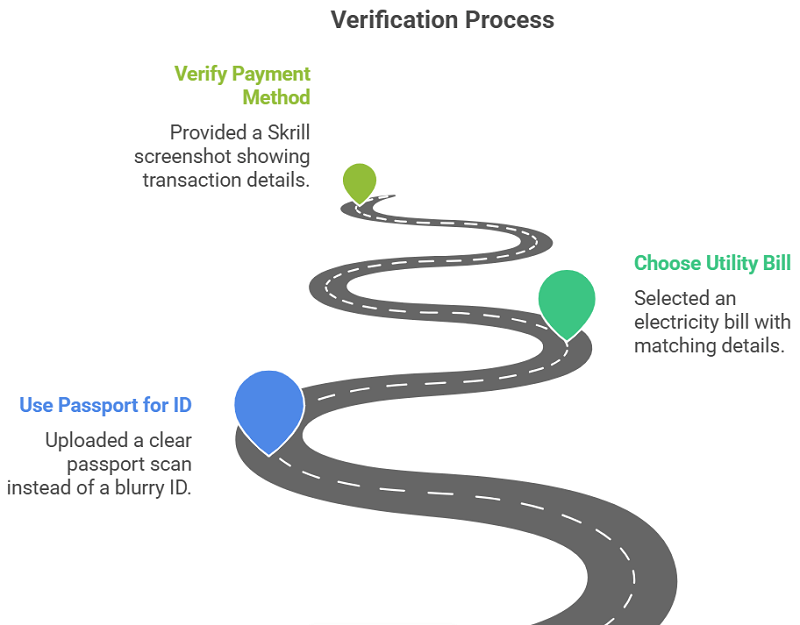
Step 1: I Used My Passport Instead of My National ID
My previous uploads were rejected because the ID photo was slightly blurry and had cropped corners. This time, I used my passport, scanned using a proper flatbed scanner, not a phone camera.
The scan was 300 DPI, full page, with no cuts.
Step 2: I Chose a Utility Bill with a Matching Name and Address
I used my electricity bill, which showed:
- My full name (matching the passport)
- My home address (same as account registration)
- The billing date (from the last 30 days)
I converted it to PDF and submitted it as-is. No cropping, no editing.
Important tip: I didn’t use mobile banking screenshots or delivery receipts. Stick to official statements or bills.
Step 3: I Verified My Payment Method (Skrill)
Since I deposited using Skrill, I logged into my Skrill account, took a screenshot showing:
- My name
- My email (same as IQ Option login)
- The recent transaction with IQ Option
That screenshot sealed the deal.
Timeline of My Verification Process (Final Attempt)
Here’s how things moved once I followed the steps properly:
| Step | Action Taken | Response Time | Status |
| Identity Document Upload | Uploaded scanned passport | 5 hours | Approved |
| Address Verification | Uploaded utility bill (PDF) | 12 hours | Approved |
| Payment Method Proof (Skrill) | Uploaded screenshot | 6 hours | Approved |
| Total time to verification | — | 23 hours total | Fully Verified |
Once I was verified, I initiated a withdrawal, and funds landed in my Skrill account the same day.
Common Reasons People Get Rejected
After going through forums and asking support agents, here are the most frequent reasons accounts get rejected:
- Cropped documents (especially IDs where corners or barcodes are cut off)
- Screenshots of PDFs or scanned images (use original files when possible)
- Unclear images taken with low-quality cameras
- Using someone else’s card or wallet
- Mismatched names between documents and accounts
- Documents older than 3–6 months
Most of these are avoidable. You just need to treat the process like a bank KYC, not a casual upload.
FAQs
How long does it take to verify an IQ Option account?
It usually takes between 1 and 3 business days. Mine was approved in under 24 hours after submitting clean documents.
Can I trade without verifying my account?
Yes, but you can’t withdraw until you verify. And after some time, trading access might be limited too.
Can I use someone else’s card or account to deposit?
No. IQ Option requires you to use accounts or cards in your name. Otherwise, your account may get blocked.
What should I do if my verification keeps getting rejected?
Contact support via live chat. Ask for specific reasons and resubmit with corrected documents. Don’t rush it.
Can I use a digital bank statement as address proof?
Yes, if it’s an official PDF statement showing your name and address. Mobile app screenshots are often rejected.
What Happens If You Don’t Verify?
This is something most beginners overlook.
If you keep using a non-verified account, you risk:
- Withdrawal delays: You won’t be able to cash out
- Account limits: IQ Option might restrict trading volume
- Account freeze: If your activity looks suspicious, your account may be blocked until verification is completed
I’ve seen dozens of complaints in forums from users saying “IQ Option blocked my account,” and in many cases, it’s because they never submitted proper verification documents.
Find out more about IQ Option regional guide.
My Tips to Get Verified Without Headaches
By the third attempt, I learned a few things that I wish someone had told me earlier:
- Always use a passport if you have one. It gets accepted faster than national IDs.
- Don’t use app screenshots or cropped pictures. They almost always get rejected.
- Scan everything using a real scanner, or take high-resolution photos in daylight with all four corners visible.
- Double-check your address on every document; it must match exactly.
- Use the same email on your wallet or payment account as you did for IQ Option.
- Don’t fake or edit documents. They can tell. You’ll get rejected or worse, blocked.
Final Thoughts: Verification is Easy If You Respect the Process
It’s tempting to rush the verification just to start trading. I get it. I did the same. But that approach cost me time, stress, and almost all my funds.
Once I slowed down and treated it seriously, it was surprisingly smooth.
IQ Option isn’t trying to make your life difficult. They just follow global KYC regulations to protect both you and their platform. It’s not personal, it’s policy.
If you haven’t signed up yet, you can do it right now and get verified the smart way → Open your IQ Option account.